So we’ve started a little edible garden here in our teenie tiny Hong Kong apartment. There is very little space, as we’ve only two sun-drenched window sill to utilise for our garden wonderland, and so we’ve to be picky as to what we grow.
And with that, the experiments began – Garlic, not enough space and takes too long to grow. Carrots? Maybe there’s space for baby carrots but we’d need to order in the seeds for that. Herbs were of course, the easiest, so please welcome basil, mint, and rosemary!
After a while, we discovered how easy it was to get lemon and coriander (cilantro to you and me) to sprout – Lemon leaves add great flavour to soups and we South East Asians use coriander for almost everything. Spring onions were a no brainer – all you need is water after all, and we found some beautiful Japanese variety to use as a starter.
Nothing really money-saving at the end of the day, but it’s a lot of fun to grow, great training for beginners like us and having beautiful fresh greens in our little apartment does wonders for the soul, especially for Darsh as she works from home. Oh, and at least we know there are no chemicals in these.
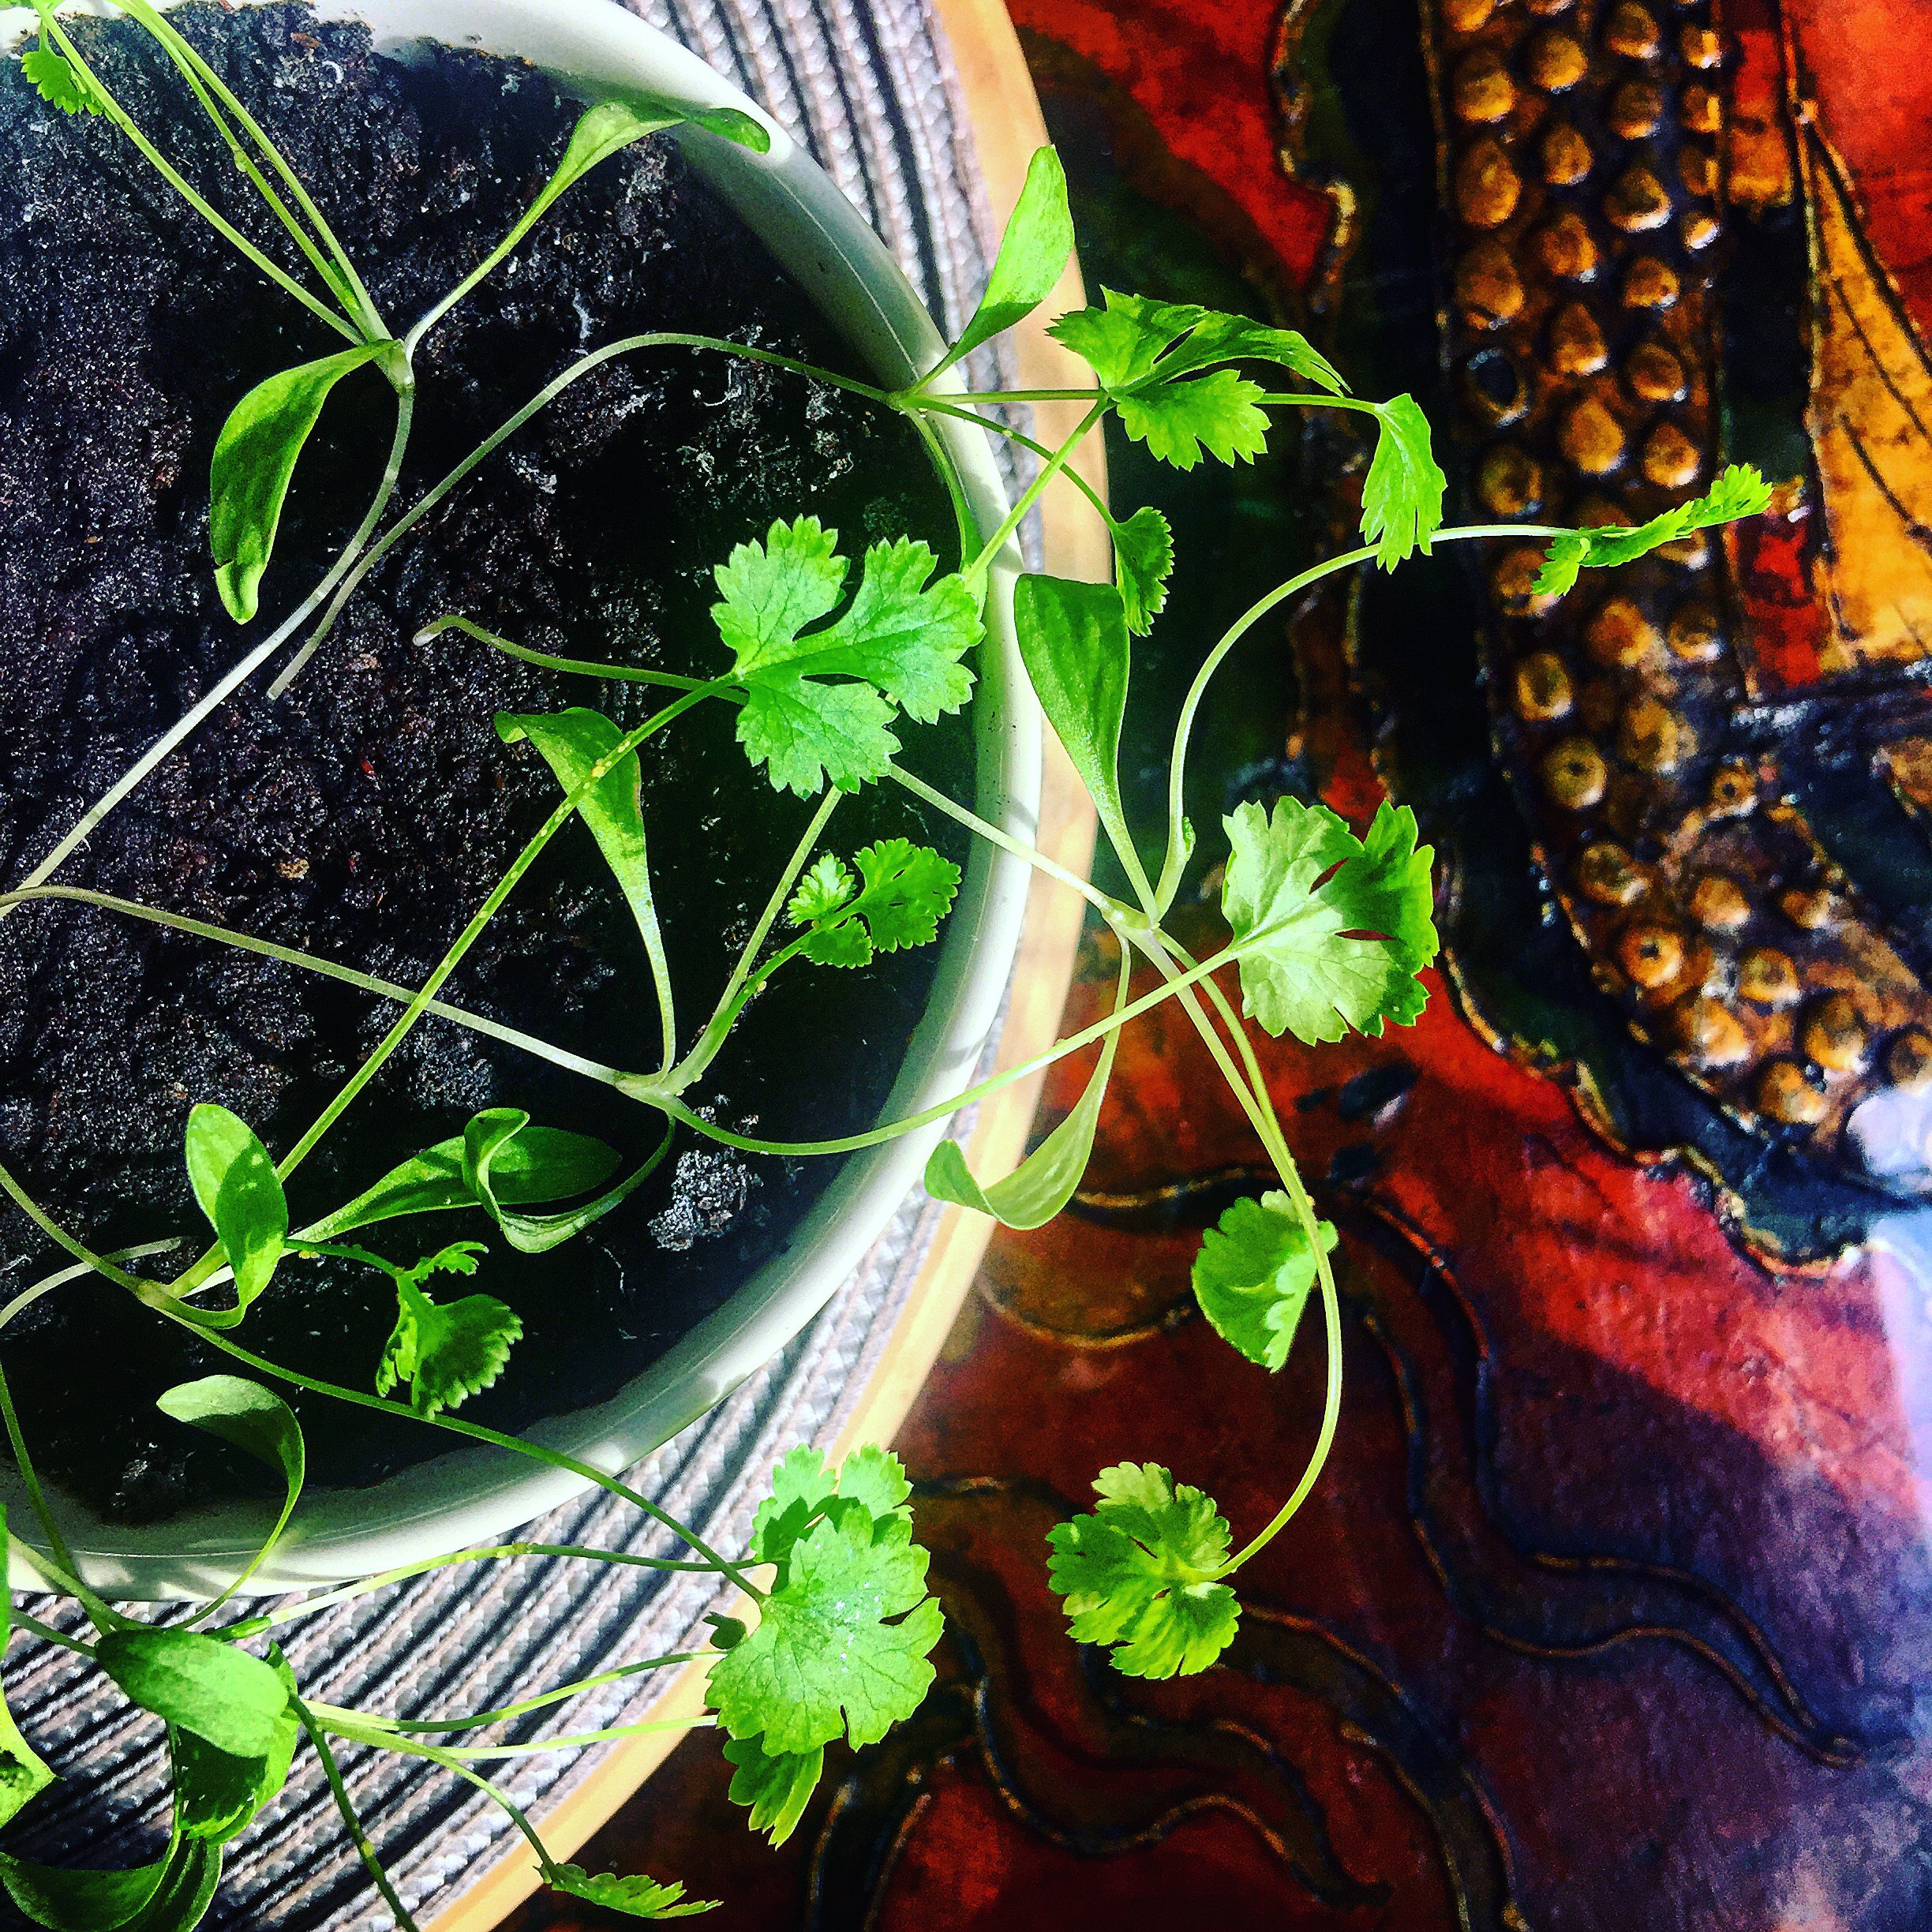
Coriander
It also taught us to be creative in our recipes. No space to grow carrots? Carrots tops will do, after all, the peppery leaves are great on fish and in salads. Can’t grow entire heads of garlic? No worries, as Darsh discovered garlic greens or leaves are delicious on their own. You can use them like chives or spring onions, as they impart a mild garlic flavour without the pungency of garlic. And it doesn’t take much space as you needn’t wait for the entire garlic head to grow and you can start clipping the leaves as they grow.
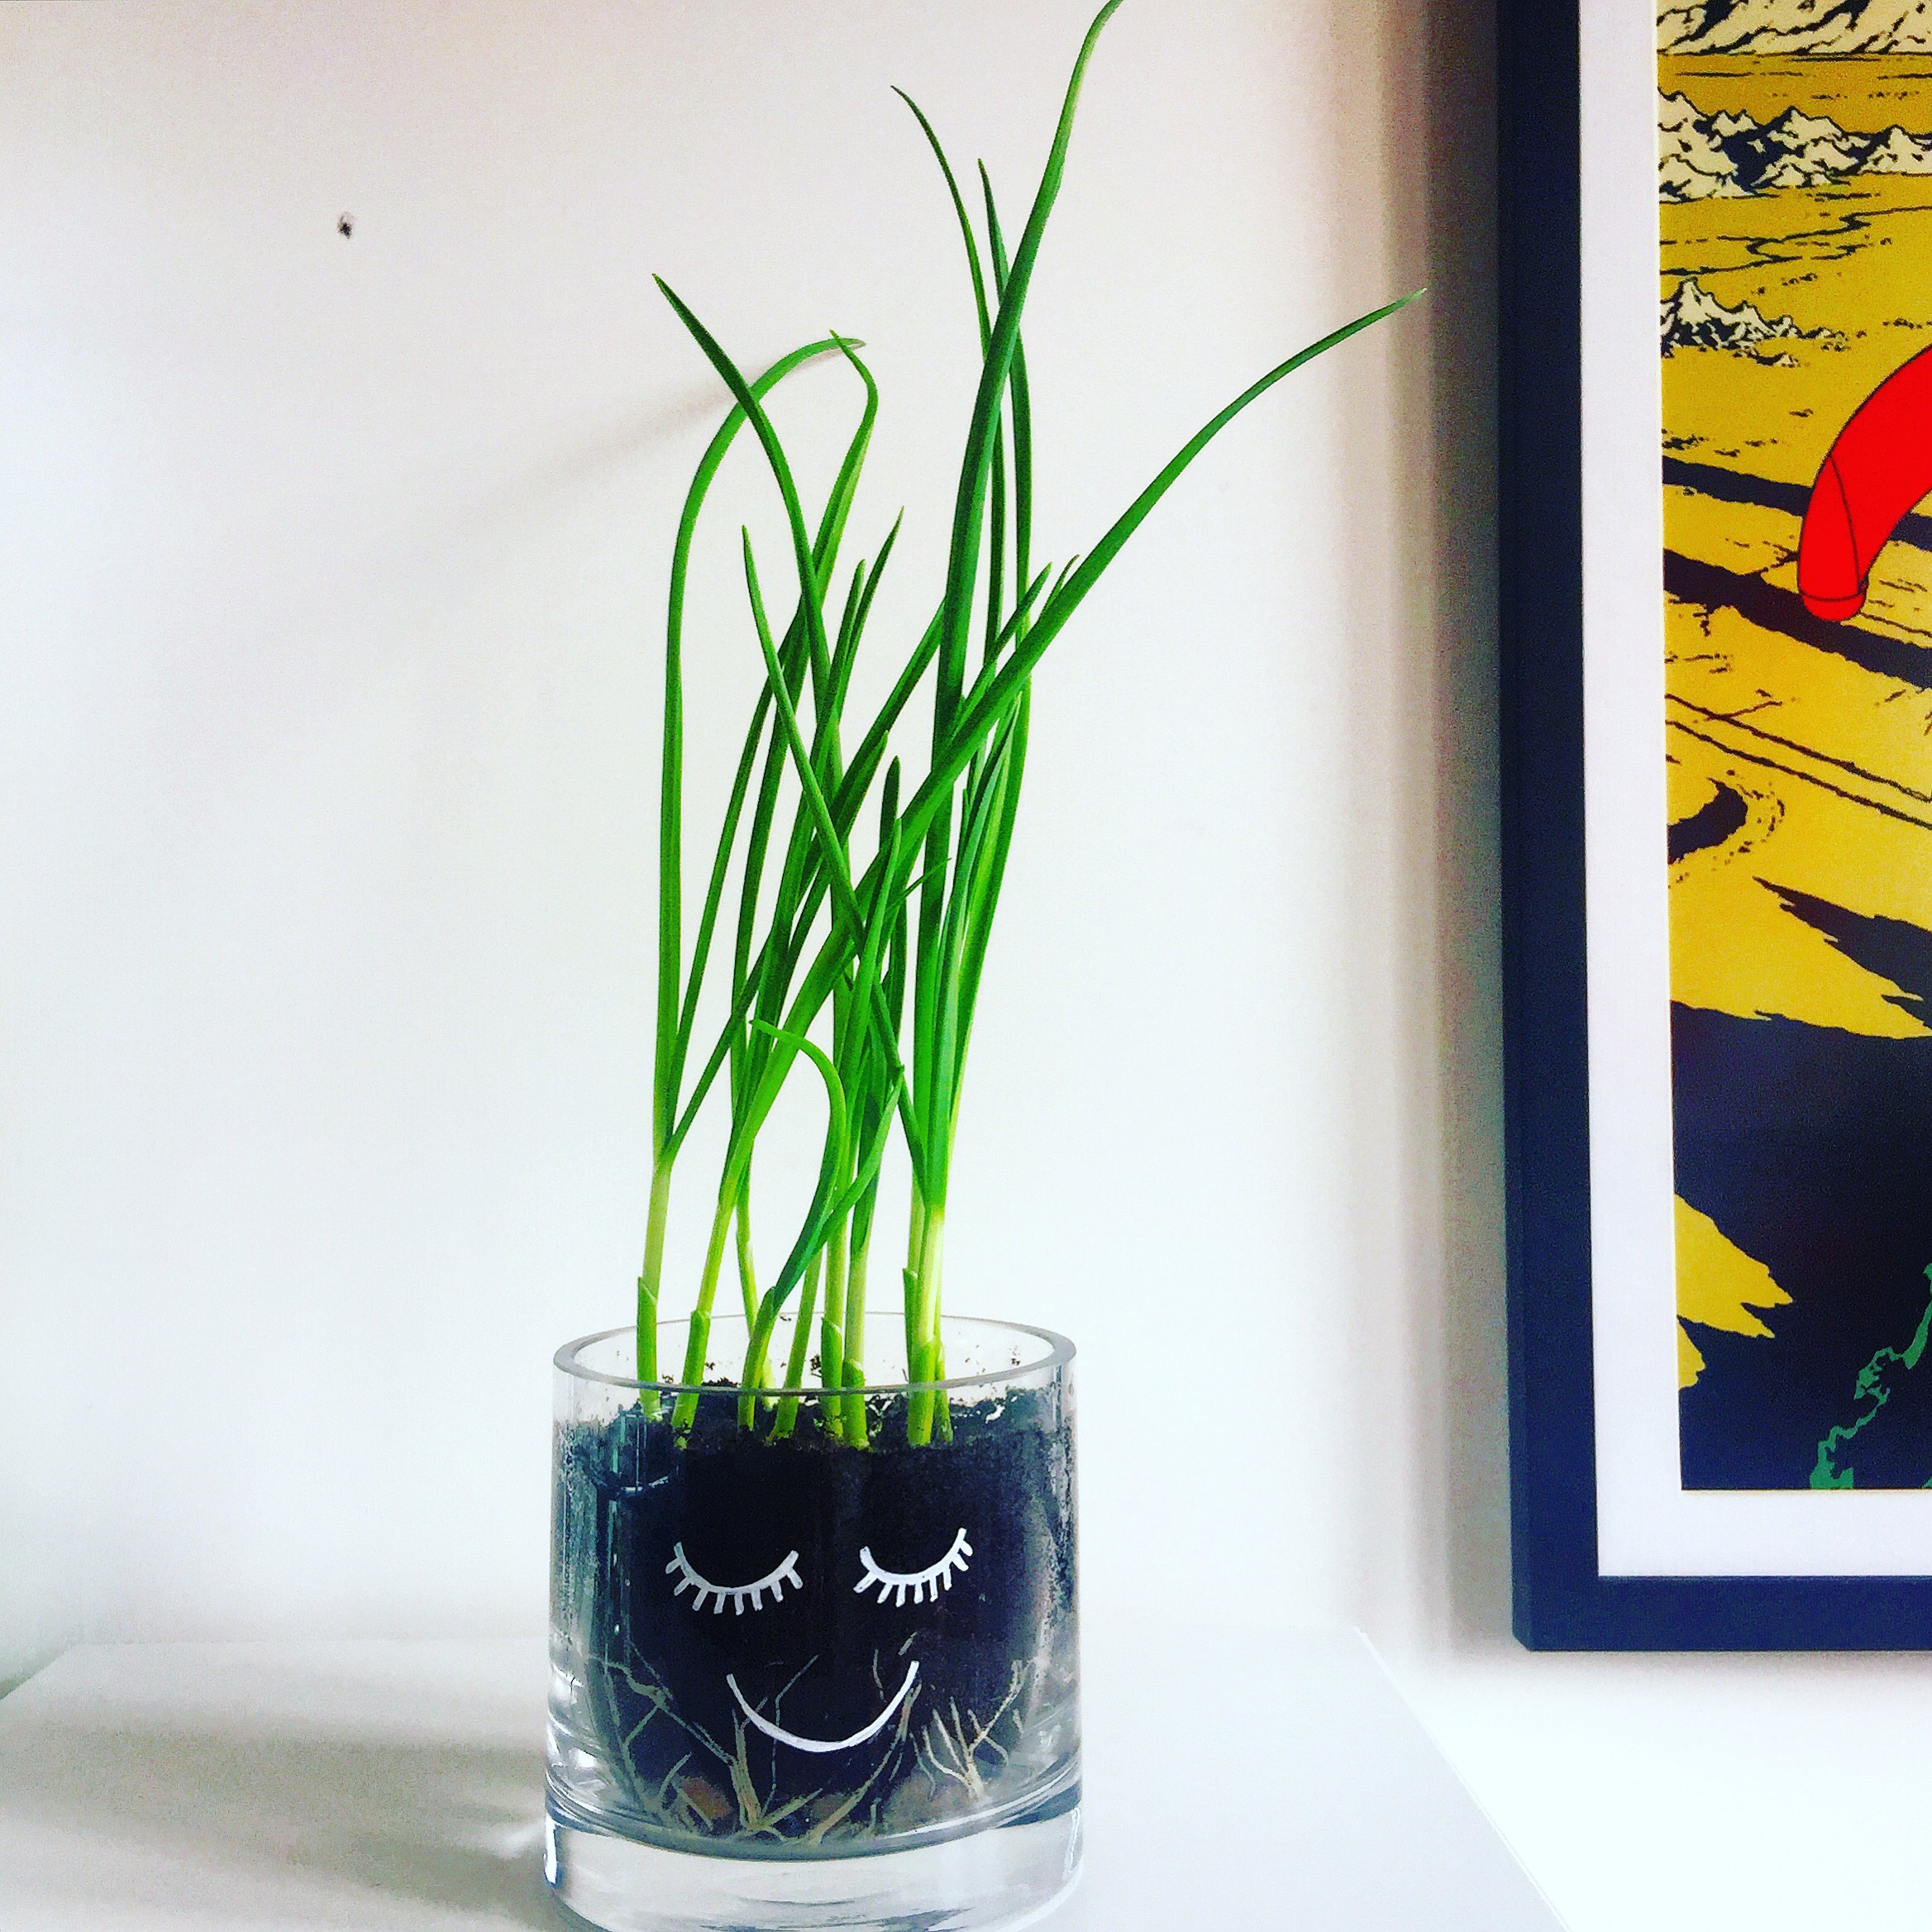
Garlic leaves
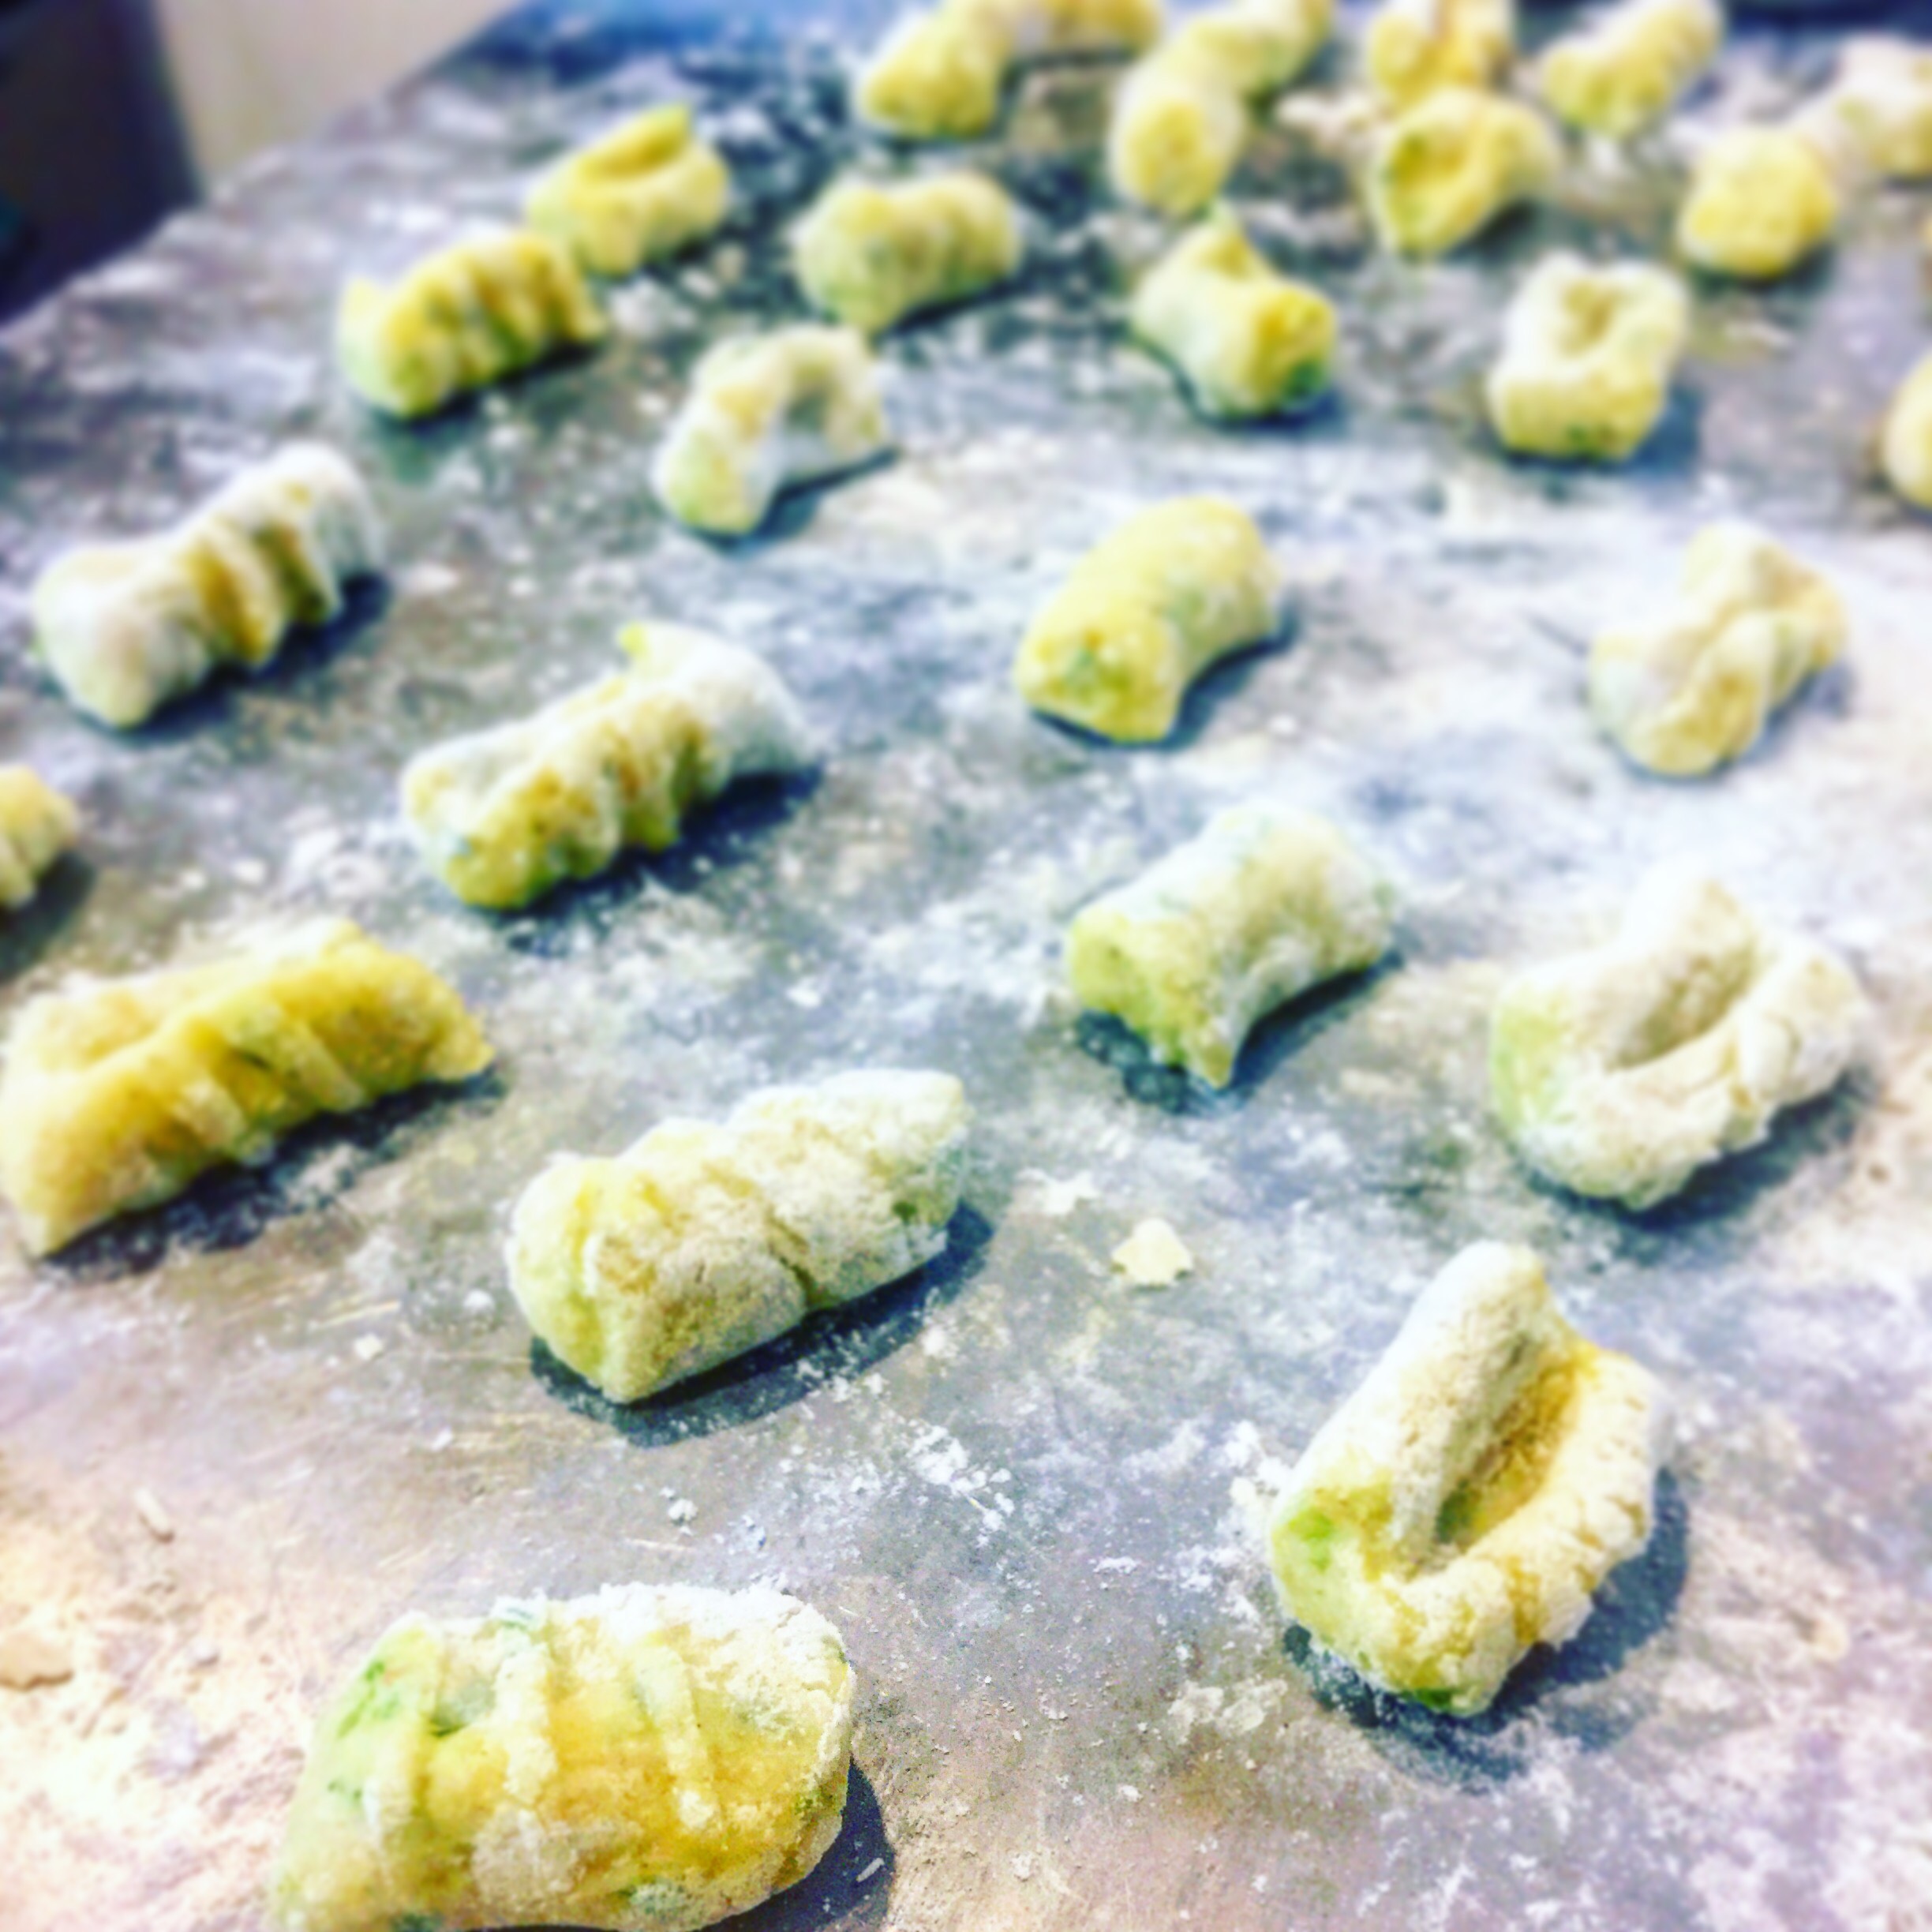
So once our little garlic greens have become too unruly, their long green leaves curling and spilling beyond the pot and all over the table, it was time to give them a haircut. And what she decides to do with the trimmed leaves? Make gnocchi! She’s long been itching to try her hands at making flovoured gnocchi and we so do love our garlic. The results are magic. Pillowy soft gnocchi with a touch of garlic in every bite. While we are nowhere close to opening a farm, we do feel good that we get to make them with plants we’ve grown in our own home.
Ingredients
- 2 medium old starchy potatoes (like Russets)
- 2 large egg yolks
- 3/4 tsp salt
- 2 tbsp garlic leaves, minced
- 1/4 tsp ground nutmeg
- 1/8 tsp ground pepper
- 1/3 cup grated parmesan
- 1 cup all-purpose flour, sifted
- 2 tsp water
Instructions
- Preheat the oven to about 205°C (~400°F). Place two potatoes in foil, sprinkle 1/2 teaspoon salt and the water over them and wrap the potatoes tightly.
- Bake potatoes for about 40 minutes or more, until the potatoes are knife tender and cannot be lifted when pierced.
- Peel the potatoes [be careful they are hot!], cut them into cubes and place in a potato ricer. Run the potatoes through the ricer onto your work bench and allow to cool to room temperature. [If you do not posses a ricer, you can always mash the potatoes through a metal sieve]
- Once cooled, sprinkle a handful of flour over the potatoes. Using a bench scraper, aerate the potatoes and ensure the grains are well coated.
- Sprinkle the nutmeg, pepper, remaining salt, parmesan and minced garlic leaves over the potatoes together with more flour and mix to combine.
- Lightly mix the egg yolks and pour over the potatoes. Incorporate the egg into the mixture.
- Proceed to add more flour until the gnocchi mixture no longer sticks to your hand when you attempt to squeeze a handful. You may not require the entire cup of flour.
- Dust the board and your hands with flour and lightly knead the dough until it holds together and becomes smooth [about 5 minutes or less]. Only add flour if the mixture sticks to your hands or the board. Leave to rest for about 5 - 10 minutes.
- Shape the dough into a rectangle, till it is roughly the same width and height of your index finger.
- Cut the dough into strips, also the thickness of your index finger.
- Roll each strip till it form a long rope, the size of your finger. You can dust the 'ropes' and your knife with flour so they don't stick and proceed to cut each rope into 1-inch pieces.
- You can choose to shape the gnocchi using a gnocchi paddle, or a fork, or merely make a slight indentation into each piece so they resemble a pillow.
- If cooking immediately, place the gnocchi into salted simmering water and give a stir so that they do not stick. Once they start floating to the top, wait for about 2 minutes and remove the gnocchi.
- If making ahead, the place the raw gnocchi on a flour-dusted tray and freeze for about 20 minutes. Then transfer to a bag and store in freezer for later use. Frozen gnocchi need not be thawed before cooking, but merely dumped into the pot of hot water, as instructed above. They would just take about a minute longer to cook than fresh raw gnocchi, but other than that, there is no harm.
Tip
Now Darsh follows the famed Rouxbe Cooking School method of making gnocchi, so you can click on the link if you require a video demonstration on making regular potato gnocchi. But if in doubt, just remember these tips:
1. The less moisture is absorbed into the potatoes the better, so while you can always boil the potatoes in their skin in a pot of water, baking is best, as are using older drier potatoes.
2. The less flour you use the better.
3. Do not overwork the dough. As soon as the dough holds together and forms a smooth dough, stop kneading.
4. Cook the gnocchi in simmering, not boiling water.

Rate this recipe
1 People Rated This Recipe
Average Rating
Comments are closed.